
Ad’ing it all up! What to know before applying an advertising wrap over vinyl livery.
Imagine yourself in this moment: You’ve had some excellent conversations with our customer development team, decided on an upgraded direction for your fleet’s decals and livery design, your team has been trained on vinyl installation, the bus wrap has been professionally applied, and the press release is out announcing the vehicles’ arrival to the world. Next comes a common question we get from our customers, if it wasn’t asked already:
“Do you do advertising wraps?”
The short answer? Nope, we don’t do advertising wraps. But we’re here to help you keep your vinyl wrap looking great. We’ll show you how to place ads without messing up your original design, print, or installation. Here are our 7 go-to rules for protecting your wrap while making the most of your advertising.
RULE 1 – Overlaminate your wrap!
Getting the right materials is key to a great livery wrap. If you’re thinking about putting ads over your wrap, here’s our go-to: always pick a film laminate, not a clear coat or liquid laminate. Same thing goes for pigmented films. Film laminate just does a better job—it creates a protective barrier you can count on.
RULE 2 – Know your warranty!
Let’s talk warranties! There are a few different options out there for printed livery wraps and advertising films. Usually, the company that made your livery material will back it up with a warranty—if you use the right advertising materials. So, take a look at your product’s bulletin to make sure the ad film you pick won’t mess with your warranty.

RULE 3 – Take care of that livery wrap!
Before you put any ads over your livery wrap, make sure it’s in good shape—no scrapes, no lifted edges, and no bubbling. If the wrap’s already damaged, adding ads on top will just make it worse when you try to take them off.
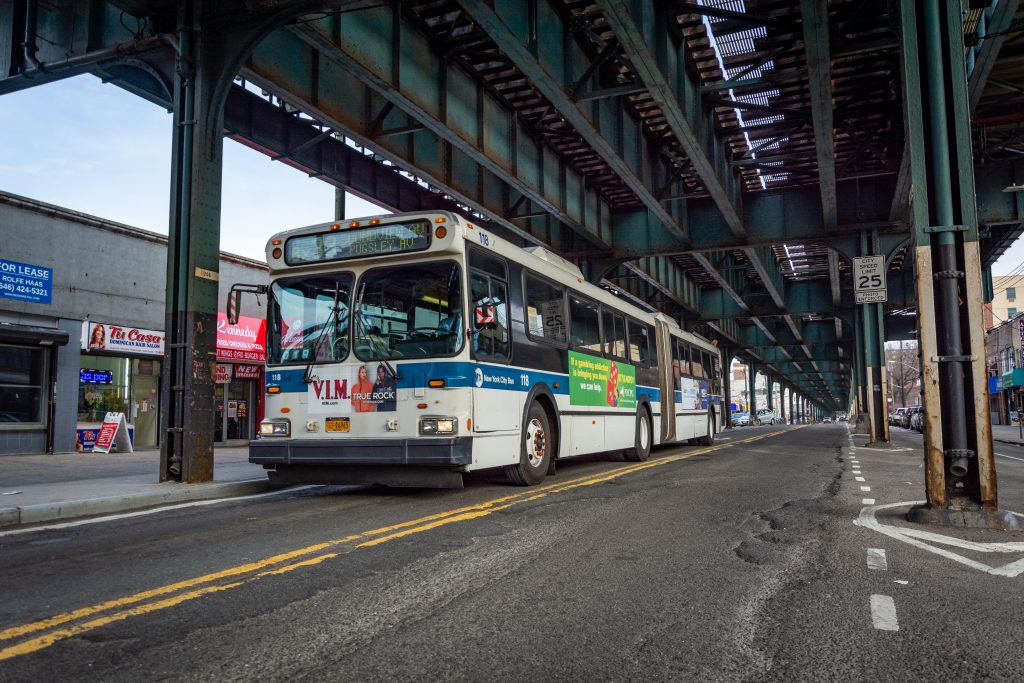
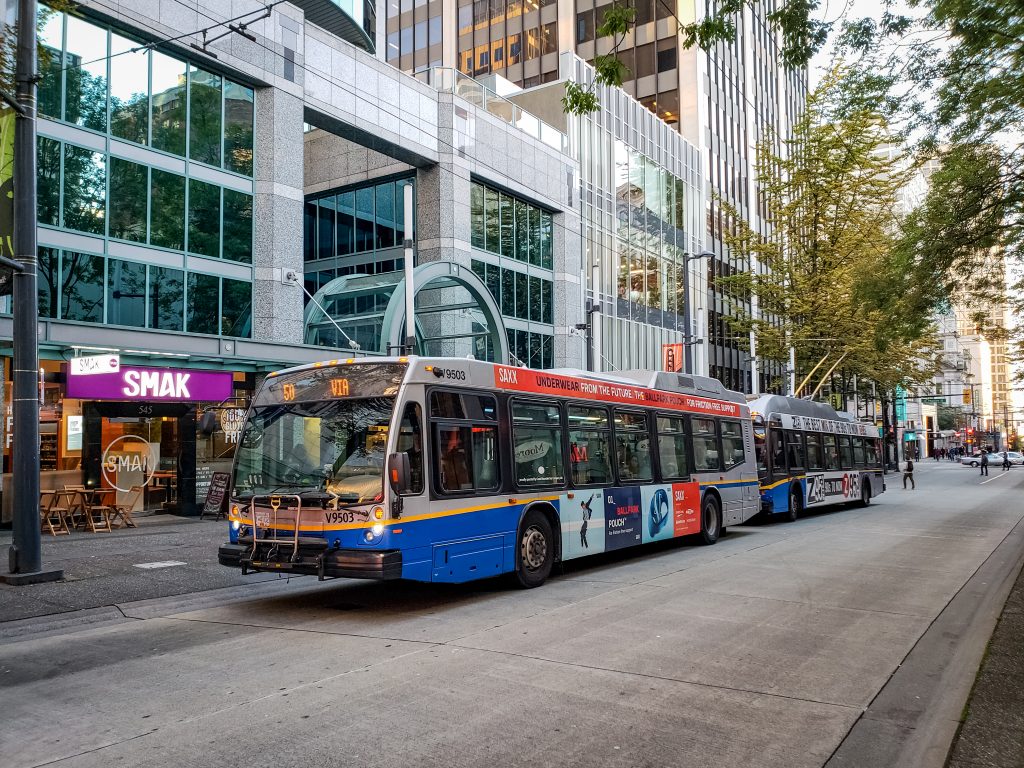
RULE 4 – Oversize or undersize those edges!
Most of the time, ads go right under the windows and line up with the top of the livery wrap. That looks nice and tidy, but here’s the trick: make sure there’s either a half-inch overlap or a half-inch gap from the edge of the wrap. That way, the edges won’t lift up when it’s time to take the ads off.
RULE 5 – Discuss Common Installation Issues Up Front!
If you skip the earlier tips, you could end up damaging not just the wrap but the whole bus or vehicle. The biggest problems we see? They’re usually from trimming or cutting mistakes—things like cutting too deeply, over-trimming, or a knife slipping. That’s why we always talk through these issues with installers ahead of time. Ask your installer how they’ll avoid these common problems and keep your vehicle safe.

RULE 6 – Remove ads before installing new ones!
It’s easy to think, “Why not just layer new ads over the old ones?” After all, who doesn’t want to save time and money? But when it comes to a high-quality livery wrap, that shortcut can really backfire. Stacking ads lets debris build up and puts extra stress on the edges of your wrap. So, always take off the old ads before you stick on new ones—your livery will thank you!
RULE 7 – Remove the ads as recommended.
Every ad or removable vinyl film comes with its own set of removal instructions, and the timing depends on the type of film you’re using. Some need to come off after 30-90 days, while others can last up to a year. Just follow the directions closely—that’s the best way to make sure your surface stays damage-free and the film peels off nice and clean, without any sticky mess left behind.
Here’s the bottom line: don’t let the idea of advertising wraps scare you away from going all-in with a full vehicle wrap. Sure, accidents happen, but most can be avoided if you stick to the 7 rules we’ve talked about!
Got more questions? Just give us a shout!
Ever had your bus or vehicle damaged by an advertising wrap? Share your story in the comments below!